Highland Cow Crochet Pattern Free PDF: A Comprehensive Guide
Discover delightful free Highland cow crochet patterns! Ribblr offers a limited-time free PDF, while blogs showcase various designs. Explore amigurumi construction details!
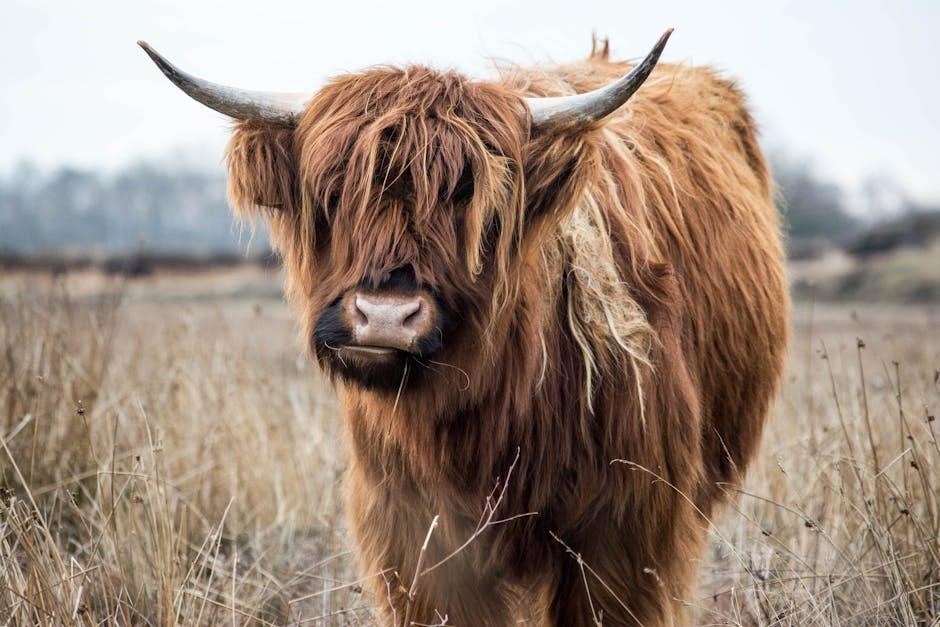
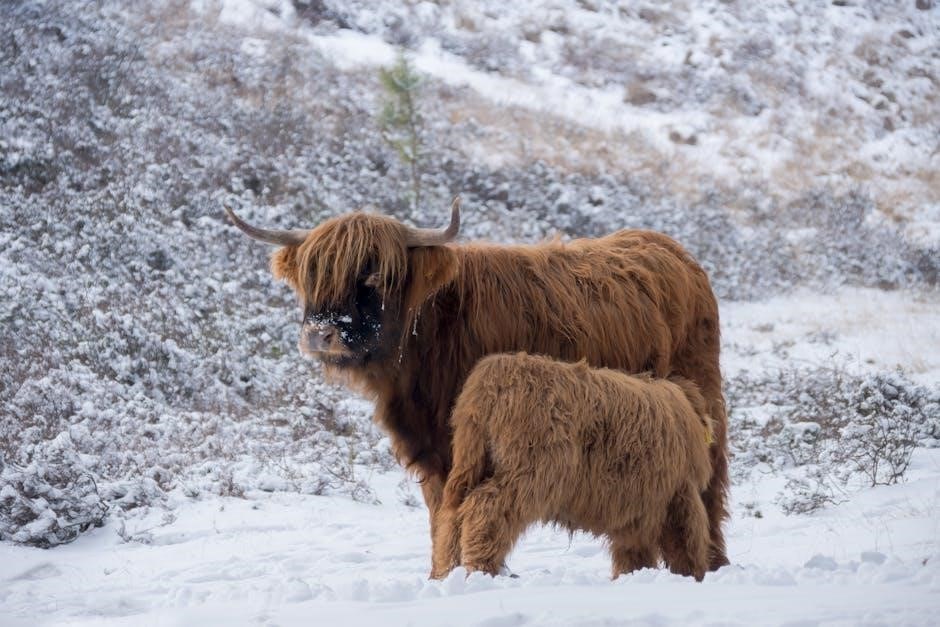
Embark on a charming crochet journey with the increasingly popular Highland cow! These fluffy, gentle giants translate beautifully into adorable amigurumi projects. The appeal lies in their distinctive long horns and shaggy coats, offering a unique textural challenge for crocheters.
Currently, numerous resources provide free Highland cow crochet patterns in PDF format. Ribblr, a vibrant crochet community, recently offered a pattern free for a limited time, anticipating a future Etsy listing. Various blogs also host free patterns, catering to different skill levels. This guide will navigate you through these options, ensuring a delightful crafting experience. Prepare to create your own cuddly Highland cow!
Why Crochet a Highland Cow? (Popularity & Appeal)
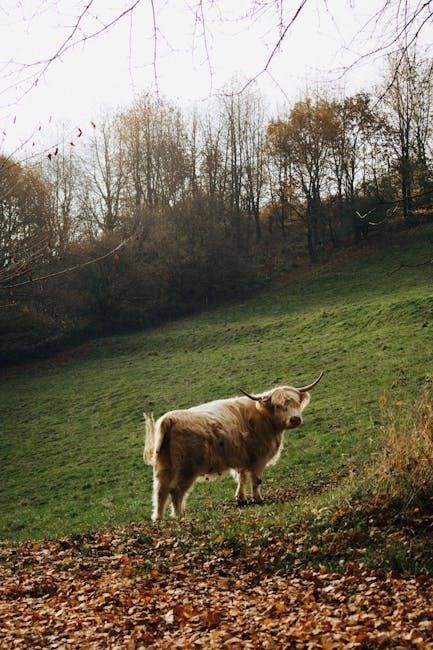
Highland cows have surged in popularity, captivating hearts with their endearing appearance and gentle nature. This translates directly into a high demand for Highland cow-themed crafts, particularly crochet! Their iconic shaggy coats and impressive horns present a satisfyingly unique challenge for crocheters seeking texture and detail.
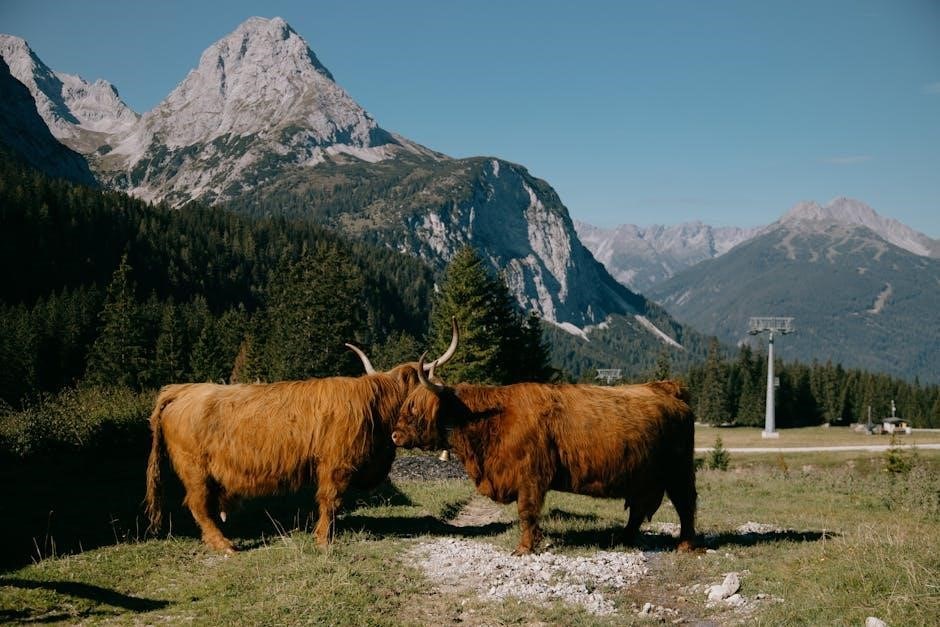
The appeal extends beyond aesthetics; these cows symbolize resilience and the beauty of the Scottish Highlands. A crocheted Highland cow becomes a charming, handmade keepsake. The availability of free PDF patterns, like those found on Ribblr and various blogs, further fuels this trend, making this delightful project accessible to all skill levels.
Finding Free Highland Cow Crochet Patterns (Overview)
Locating free Highland cow crochet patterns requires a bit of online exploration. Ribblr currently features a limited-time free pattern, a fantastic starting point for enthusiasts. Numerous crafting blogs also generously share their designs, offering diverse styles and skill levels. A quick search reveals patterns with photo tutorials, simplifying the process for beginners.
Keep an eye on platforms like Etsy; while many patterns are paid, designers often transition free offerings there after an initial promotional period. Remember to check pattern dates, as availability can change. Dedicated crochet communities on Facebook are also excellent resources for sharing links and discovering new patterns.
Pattern Resources & Availability
Explore Ribblr for a time-sensitive free pattern, and various blogs for free Highland cow designs. Etsy may host patterns post-promotion!
Ribblr Community, Limited-Time Free Pattern
Exciting news for crochet enthusiasts! The Ribblr community is currently offering a free Highland cow crochet pattern, but this opportunity is fleeting. As of September 21, 2024, the pattern is available for free for one week only. After this promotional period, on the following Friday, the pattern will no longer be free and will likely be sold exclusively on Etsy.
This makes it a perfect time to download and save the pattern if you’re interested in creating your own adorable Highland cow amigurumi. Don’t miss out on this chance to access a delightful pattern without cost – head over to the Ribblr community now!
Blog-Based Free Patterns (Specific Blog Mentions)
Numerous crochet blogs generously share free Highland cow patterns, offering diverse styles and skill levels. As of May 23, 2025, resources showcase “Free highland and chubby cow crochet patterns” by Joanne McConnell, providing accessible options for crafters. Many bloggers feature photo tutorials, simplifying the amigurumi project for beginners.
These blogs often detail easy-to-follow instructions, making the Highland cow a popular choice. Searching for “highland cow crochet pattern free” will reveal a wealth of options, allowing you to select a design that suits your preferences and experience. Explore these blogs for inspiration!
Etsy as a Future Source (Pattern Transition)
Currently, many designers initially offer Highland cow crochet patterns as limited-time free downloads, like the one on Ribblr, before transitioning them to Etsy for sale. This strategy allows creators to build initial interest and gather feedback. The Ribblr community post explicitly states the Highland cow pattern will “go away forever” after a week, likely becoming available on Etsy thereafter.
Therefore, Etsy will become a primary source for this pattern and others. While free options may diminish, Etsy provides access to a wider range of detailed, professionally designed Highland cow crochet patterns.
Understanding Crochet Terminology
Master essential crochet terms like ST/STS, CH/CHS, SL ST, and CSC—crucial for following Highland cow patterns. These abbreviations simplify instructions!
ST/STS: Stitch/Stitches Explained
Decoding “ST” or “STS” is fundamental to any crochet project, especially when crafting a charming Highland cow! These abbreviations simply represent a single crochet stitch or multiple crochet stitches, respectively. Understanding this is key to accurately following your chosen free Highland cow crochet pattern PDF.
The pattern instructions will frequently refer to these terms, indicating where to insert your hook and complete a stitch. Pay close attention to whether the pattern calls for “ST” (one stitch) or “STS” (multiple stitches) to ensure correct shaping and detail in your adorable amigurumi cow. Consistent stitch counts are vital for a polished final product!
CH/CHS: Chain/Chains Explained
Mastering “CH” or “CHS” – representing chain stitches or chains – is crucial when beginning your Highland cow crochet adventure! Chains form the foundation for many amigurumi projects, including these fluffy cows. A chain stitch is the very first step in most crochet patterns, creating the initial row upon which you’ll build.
Your free Highland cow crochet pattern PDF will likely start with a specific number of chains. These chains establish the width and shape of the cow’s features. Accurate chain counts are essential; too few or too many will affect the final size and appearance. Practice makes perfect!
SL ST: Slip Stitch Explained
Understanding “SL ST,” or slip stitch, is vital for seamless transitions in your Highland cow crochet project. Unlike other stitches, a slip stitch doesn’t have a height; it’s a flat stitch used to join rounds or move yarn without adding bulk. Your free Highland cow crochet pattern PDF may utilize slip stitches to connect the head to the body, or to finish off rounds neatly.
Essentially, you insert your hook, yarn over, pull through both loops – creating a simple, almost invisible stitch. It’s a foundational technique for amigurumi, ensuring a polished and professional finish to your adorable crocheted cow!
CSC: Crossed Single Crochet Explained
Mastering “CSC,” or crossed single crochet, adds beautiful texture to your Highland cow! This stitch is a variation of the standard single crochet, creating a twisted effect. To execute CSC, insert your hook under the vertical bar of the stitch from the previous row, instead of the usual top two loops. Yarn over, pull up a loop, yarn over, and pull through both loops on your hook – just like a regular single crochet.
Your free Highland cow crochet pattern PDF might employ CSC for the cow’s shaggy coat, providing a realistic and charming appearance. It’s a simple change that yields a significant visual impact!

Materials Needed for Your Project
Gather DK yarn in light beige, black, and brown. You’ll also need a crochet hook, embroidery supplies for details, and stuffing for your adorable cow!
Yarn Weight & Colors (DK Yarn Specifics)
For this charming Highland cow project, DK yarn is highly recommended due to its excellent stitch definition and suitability for amigurumi. A small amount of light beige yarn is essential for crafting the cow’s mouth and distinctive horns, adding those crucial details. Similarly, a touch of black yarn will bring the hooves to life.
The primary color, a warm brown, will form the bulk of the cow’s body, capturing its iconic fluffy appearance. While specific shades are open to interpretation, a medium to dark brown generally works best. Remember, only a few grams of beige and black are needed, making this a budget-friendly crochet endeavor!
Light Beige for Mouth & Horns
Selecting the perfect light beige yarn is crucial for accurately representing the Highland cow’s delicate facial features and uniquely shaped horns. A soft, creamy beige shade will best capture the natural coloration of these elements. Consider a DK weight yarn to maintain consistency with the overall project, ensuring a cohesive look and feel.
Only a small quantity of this yarn is required – just a few grams will suffice – making it an economical choice. This beige will be used for intricate details, so a yarn with good stitch definition is preferred. It’s the subtle touch that elevates the finished amigurumi!
Black for Hoofs
A small amount of black yarn is essential for crafting the Highland cow’s sturdy hooves, providing a striking contrast against the body’s warmer tones. Like the beige, a DK weight black yarn is recommended for consistency throughout the crochet project. Only a few grams are needed, making it a cost-effective component of your materials list.
Focus on a true black shade to accurately depict the hoof color. This detail, though small, significantly contributes to the overall realism and charm of the finished amigurumi Highland cow. Ensure good stitch definition for neat, well-defined hooves!
Brown for the Body
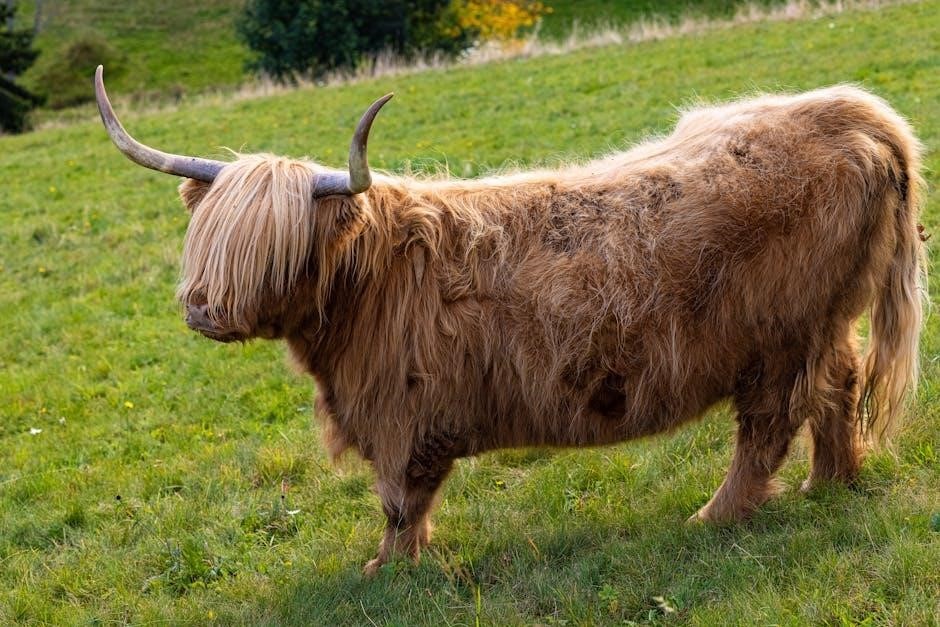
The majority of your yarn will be dedicated to the Highland cow’s body, necessitating a substantial amount of brown DK weight yarn. Selecting a rich, warm brown shade accurately captures the breed’s characteristic coloring, lending authenticity to your finished amigurumi. Consider a shade reminiscent of a Highland cow’s natural coat – a medium to dark brown works beautifully.
Ensure you have enough yarn to complete the body construction, accounting for potential increases and decreases during shaping. This is the most prominent color, so quality and sufficient quantity are key!
Hook Size Recommendations
Selecting the appropriate crochet hook is crucial for achieving the correct gauge and overall appearance of your Highland cow. Generally, a 3.5mm or 4mm hook is recommended when using DK weight yarn, aligning with most free Highland cow crochet patterns. However, individual tension varies, so consider a gauge swatch.
A smaller hook (3.5mm) creates tighter stitches, ideal for amigurumi to prevent stuffing visibility. Conversely, a 4mm hook yields a looser fabric. Adjust hook size if your stitches are too tight or loose to match the pattern’s specifications.
Basic Crochet Techniques Used
Master single crochet, increases, and decreases for shaping. Working in rounds is essential for constructing the amigurumi Highland cow, creating a seamless form.
Single Crochet (Foundation of the Pattern)
Single crochet (sc) is the cornerstone of this Highland cow amigurumi pattern, forming the dense fabric needed for a well-defined shape. The pattern heavily relies on consistent sc stitches throughout the head, body, legs, and even the horns.
To execute a single crochet, insert your hook into the indicated stitch, yarn over, pull up a loop, yarn over again, and pull through both loops on the hook. This creates a tight, compact stitch.
The instructions frequently mention utilizing sc, emphasizing its importance. Understanding this basic stitch is crucial for successful completion. Pay close attention to stitch counts to maintain the cow’s intended form and proportions.
Increasing and Decreasing (Shaping the Cow)
Shaping the Highland cow requires strategic increases and decreases within your single crochet stitches. Increases, typically achieved by working two single crochet stitches into a single stitch, expand the fabric, crucial for forming the body and head’s curves.
Conversely, decreases – often invisible decreases – reduce stitch counts, creating the tapered shape of the legs and refining the head. The pattern will guide you on where to increase or decrease to achieve the correct contours.
Mastering these techniques is vital for a realistic cow form. Consistent application ensures symmetrical growth and prevents unwanted bulges or indentations.
Working in Rounds (Amigurumi Construction)
Amigurumi, like this Highland cow, is predominantly constructed by working in continuous rounds. This means crocheting in a spiral without joining each round, creating a seamless, three-dimensional form. The pattern utilizes single crochet (SC) as its foundation stitch, building up the shape gradually.
Using stitch markers is essential to keep track of the beginning of each round, preventing missed stitches and ensuring consistent shaping. Increases and decreases are strategically placed within these rounds to sculpt the cow’s body, head, and legs.
This technique allows for a smooth, tightly woven fabric, ideal for amigurumi.
Pattern Breakdown & Construction
Follow step-by-step instructions to craft the head, body, legs, and horns. Detailed guidance ensures successful assembly, bringing your adorable Highland cow to life!
Head & Face Construction
Begin constructing the head using single crochet, increasing strategically to form a rounded shape. Pay close attention to stitch counts for symmetrical results. The muzzle is often created separately in light beige yarn, then attached.
Focus on shaping the forehead and cheeks, utilizing decreases to achieve the characteristic Highland cow appearance. Consider using crossed single crochet (CSC) for texture.
Remember to stuff firmly as you progress, maintaining the head’s form. The face will require careful attention to detail when adding features later, so a solid foundation is crucial. Ensure a smooth transition between the head and neck during attachment.
Body Construction
Start the body with a magic ring, working in continuous rounds with single crochet. Increase evenly to create a wider base, gradually transitioning to a more cylindrical shape. Consistent tension is key for a uniform appearance.
Maintain a consistent stitch count, decreasing subtly to define the cow’s chest and back. Stuff the body firmly as you crochet, ensuring it’s well-supported.
Pay attention to the overall proportions, aiming for a sturdy and balanced form. The body should be large enough to accommodate the head and legs securely. Prepare for seamless attachment of limbs and the head later in the process.
Legs & Hooves Attachment
Create four identical legs using single crochet, shaping them slightly to resemble sturdy cow legs. Stuff them firmly to maintain their form and ensure they can support the body’s weight.
For the hooves, use black yarn and crochet small, rounded pieces; Attach these securely to the bottom of each leg, using a yarn needle to weave in the ends.
Position the legs evenly under the body, attaching them with careful stitching. Ensure they are firmly secured to prevent detachment during handling; Reinforce the attachment points for added durability.
Horns & Facial Features (Adding Details)
Craft the iconic Highland cow horns using light beige yarn, shaping them into gentle curves. Securely attach them to the head, ensuring they are balanced and proportionate to the cow’s size.
For the facial features, employ embroidery to create expressive eyes and a sweet mouth. Utilize black yarn for the eyes, adding a touch of charm. The mouth can be subtly embroidered with the same beige yarn.
Pay attention to detail when positioning the features to capture the cow’s endearing expression. These small touches bring the amigurumi to life!
Finishing Touches & Customization
Enhance your Highland cow with embroidery for details! Blocking defines its shape, and variations like different colors or accessories add a personal touch.
Embroidery for Facial Details
Embroidery truly brings your Highland cow to life! Use embroidery floss to carefully stitch the eyes, nose, and mouth, adding personality and charm. Consider using a darker shade of brown or black for contrast against the light beige face. Small, delicate stitches create a more realistic look, while bolder stitches offer a cartoonish appeal.
Experiment with different embroidery techniques, such as French knots for a textured nose or back stitches for defined eyes. Don’t be afraid to personalize your cow’s expression – a slightly smiling mouth or inquisitive eyes can add character. Remember to secure your embroidery floss well to prevent unraveling, ensuring your cow’s adorable face lasts!
Blocking for Shape & Definition
Blocking is a crucial step to refine your finished Highland cow! Gently dampen the crocheted piece with water, then pin it to a blocking board or towel, shaping it to the desired form. This process relaxes the stitches, creating a smoother, more defined appearance. Pay attention to the head, body, and legs, ensuring they hold their shape effectively.
Allow the cow to dry completely before removing the pins. Blocking helps even out any inconsistencies in tension, resulting in a polished, professional-looking amigurumi. It enhances the overall structure and definition, making your Highland cow truly stand out.
Potential Variations & Customization Ideas
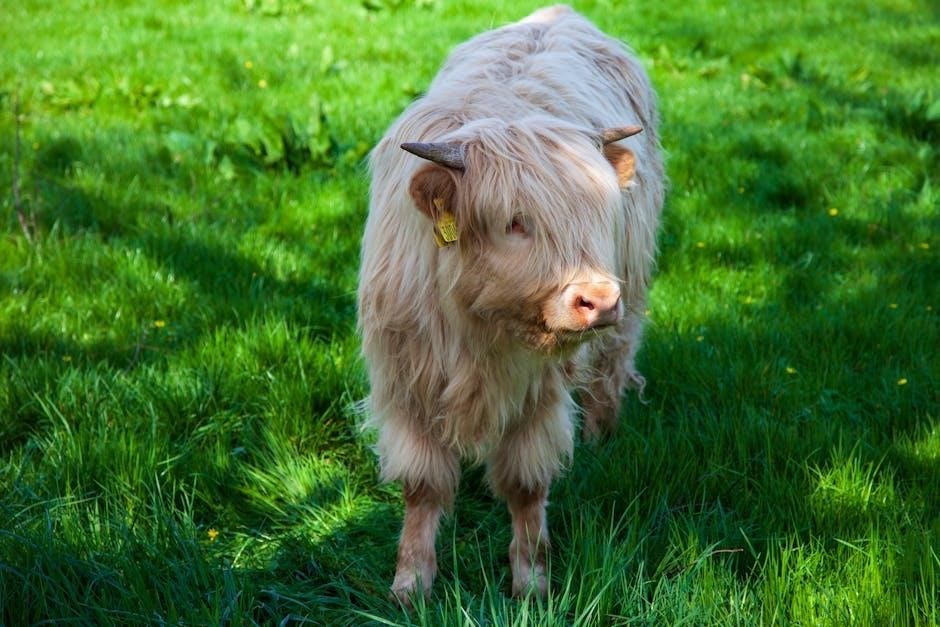
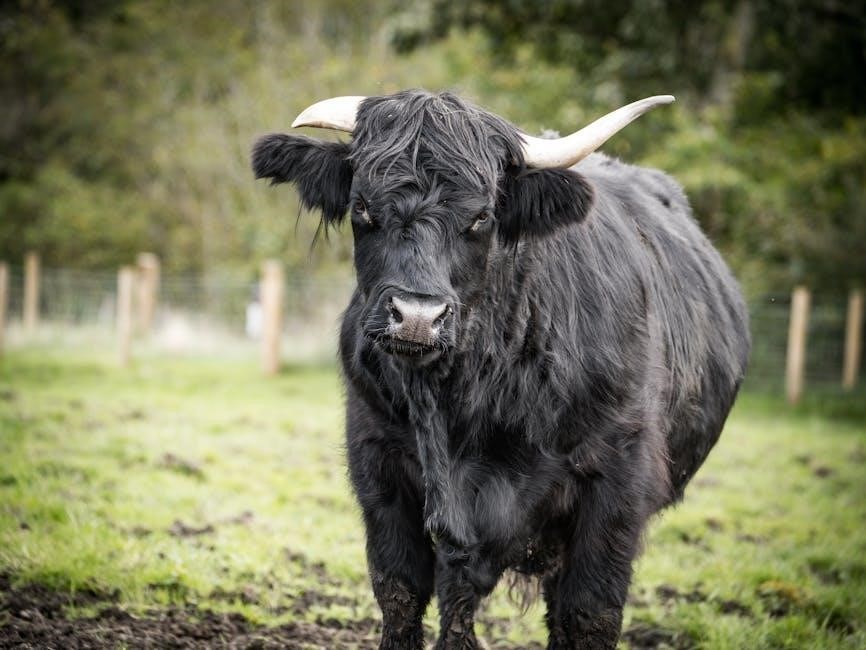
Unleash your creativity with Highland cow customizations! Experiment with different yarn weights for varied textures – bulky yarn creates a chunkier cow, while fingering weight yields a delicate one. Alter the color palette; consider a white Highland cow or a darker, richer brown.
Add accessories like tiny crocheted flowers or a miniature plaid scarf. Embroider unique facial expressions or patterns onto the face. Vary the horn shapes or sizes for a distinctive look. These small changes transform the basic pattern into a truly personalized amigurumi masterpiece!
Where to Share Your Finished Cow
Showcase your adorable Highland cows! Share photos on Facebook groups, Instagram using #highlandcowcrochet, and tag the pattern designer for feedback!
Facebook Groups & Communities
Connect with fellow crochet enthusiasts by joining dedicated Facebook groups! These vibrant online communities are perfect for sharing your completed Highland cow projects and receiving encouragement. Many groups focus specifically on amigurumi, while others cater to crochet in general, offering a broader audience for your adorable creation.
Don’t hesitate to ask questions, offer advice, and participate in discussions. Facebook groups are a fantastic resource for troubleshooting tricky parts of the pattern or discovering new techniques. Search for terms like “Amigurumi Crochet,” “Crochet Friends,” or “Highland Cow Crochet” to find relevant groups. Remember to respect group rules and enjoy the supportive atmosphere!
Instagram Hashtags (#highlandcowcrochet)
Showcase your finished Highland cow crochet masterpiece on Instagram! Utilize relevant hashtags to reach a wider audience and connect with other crochet lovers. #highlandcowcrochet is a must-use, but also consider #crochet, #amigurumi, #handmade, #crochetcow, and #freecrochetpattern.
Experiment with niche hashtags like #highlandcow or #scottishhighlandcow to target specific interests. Engage with other posts using similar hashtags, leaving encouraging comments and building connections. Don’t forget to tag the pattern designer if they have an Instagram account – they’ll appreciate the recognition!
Pattern Designer Feedback (Encouraging Interaction)
Connecting with the pattern designer is a fantastic way to show appreciation and contribute to the crochet community! If you used a free Highland cow crochet pattern, consider sharing a photo of your finished project with the designer.
Many designers actively seek feedback to improve their patterns. Constructive criticism, suggestions, or even just a simple “thank you” can be incredibly valuable. Check their Ribblr profile or blog for contact information or preferred methods of communication. Your input helps them create even more amazing patterns!